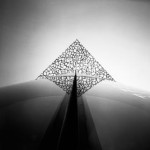
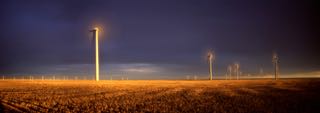
In this article, I’m not going to show you anything new. Rather, my goal is to help us think of an existing technique in a new way.
I imagine the knee jerk response to the title of this article is a chorus of befuddled pinholers worldwide shouting in unison, “CONTROLLING DEPTH OF FIELD IN PINHOLE PHOTOS?!?!”
Yep, we’re diving in, with incredulous abandon. But rest easy, we’re not going to change the physics of light. Rather, we’re going to discuss how we can leverage composition to “shorten” the depth of field in a pinhole photograph. Got your attention? Read on…
[singlepic id=228 w=300 float=right] [/singlepic]First, what is “Depth of Field”? Wikipedia defines it as “the distance between the nearest and farthest objects in a scene that appear acceptably sharp in an image.” Note that in that definition, there’s not a single mention of bokeh, aperture, or even Circles of Confusion. That’s kind of liberating, no? So, we shall free ourselves of the technical aspects of the customary understanding of depth of field, and let’s focus on the aesthetic.
Let’s pick apart the definition of Depth of Field, from an aesthetic perspective, for just a moment. We have “the distance between the nearest and farthest objects in a scene” – that’s classic 2D art composition: a foreground, middle ground, background. And then there’s “appear acceptably sharp in an image” – well that’s just a matter of being able to distinguish what those objects are, right? So, Depth of Field is, at it’s simplest, choosing what objects, if any, will be distinguishable in the foreground, middle ground, and background.
How do we control which objects will be distinguishable in these planes of the finished pinhole photo? In a word: motion! In a few more words: the relative motion between the camera, the subject, and the background. The closer that background motion is to your subject, the shorter your depth of field. The further away, the deeper your depth of field. Got something in motion between the camera and your subject? Even better – you have a foreground depth of field effect.
Of course this isn’t something new, right? Any of us that have looked at pinhole photography long enough have seen sweeping clouds over landscapes, moving objects in the foreground, wisping trees to and fro. This is not a new effect. But, this is a change of mindset.
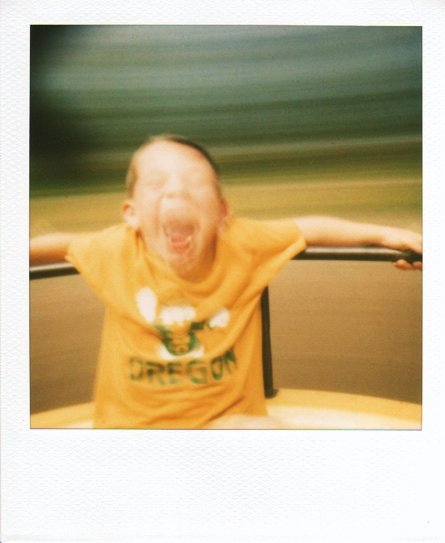
Portrait photographers have long since figured out that a portrait can be made *that* much more dynamic through careful use of depth of field. Want to take a great pinhole portrait? Consider a windy day with foliage in the background. Or you can get playful, the way Darren Constantino did his photo, Pinhole Seesaw.
Want a pinhole photo of an object that really pops? Put that object in motion and lock the camera to that motion, such as what James Guerin did in his Twilight Cycle diptych. Artūras Meškauskas also leveraged this technique very effectively in his photo, 1+4 (bottom of linked page).
Again, this isn’t a new technique, just a different mindset – something to keep in mind when you’re afield and are considering how to make a subject really stand out. How have you leveraged this technique? Tell us in the comments!
Self Portrait with Guitar
[singlepic id=229 w=600]Self Portrait with Guitar, ©Kier Selinsky 2015[/singlepic]
 June 3: We covered Marko Umicevic’s paper negative process for enhanced tonality.
 June 19: We got deep in symmetry with Dikal’s pinhole photography.
