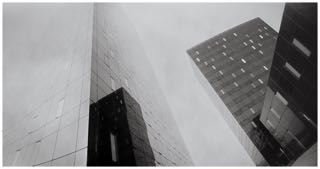
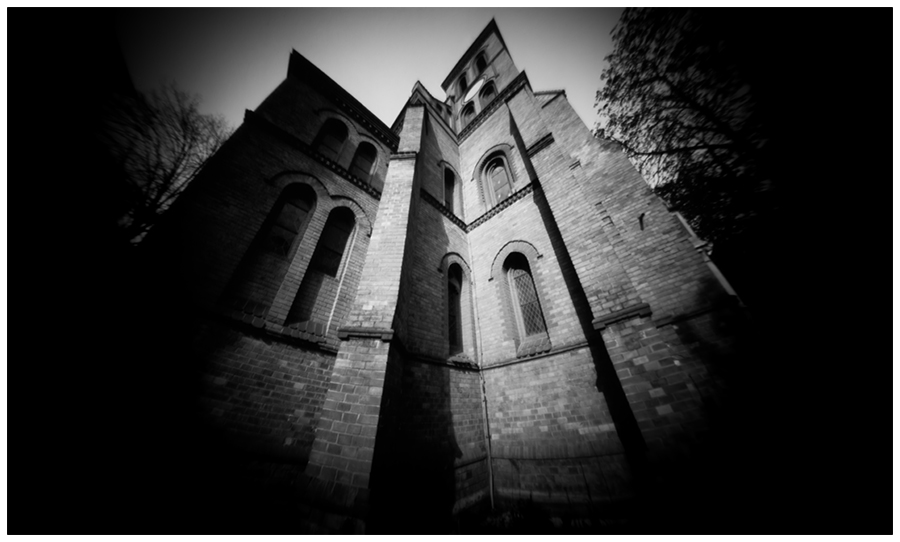
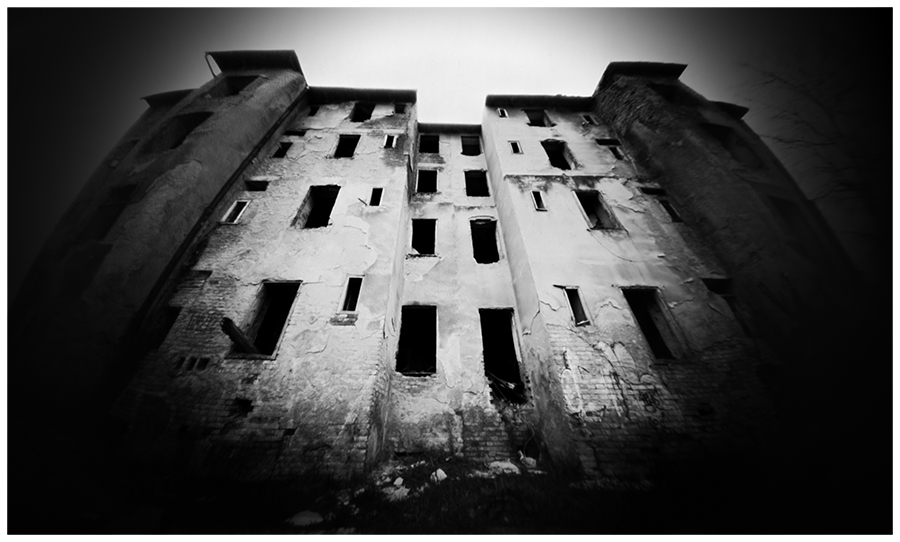
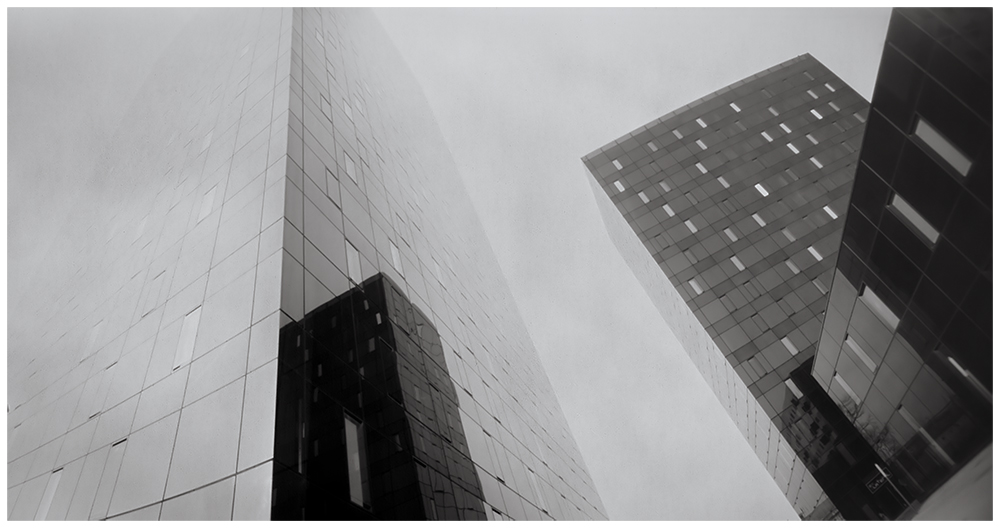
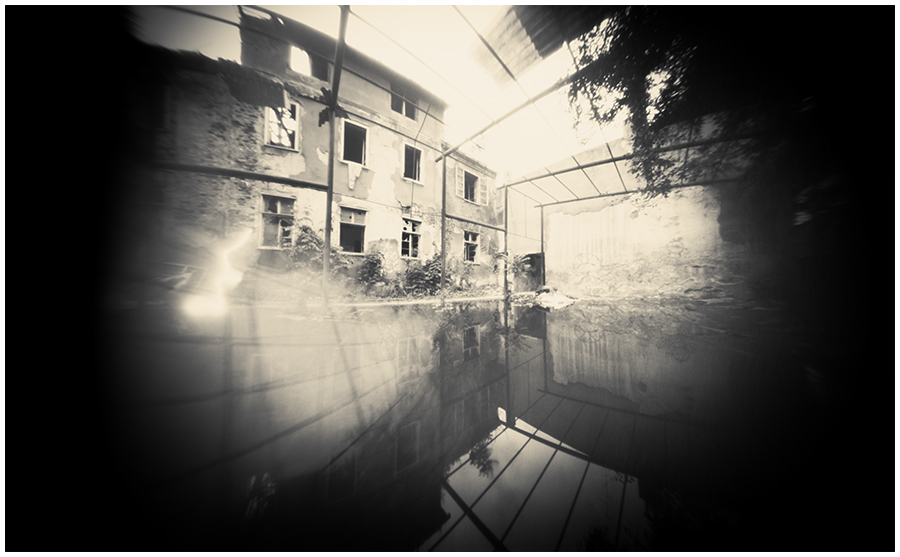
If you’ve been following ƒ/D closely, you’ve probably seen that we’ve featured some of Marko Umicevic’s images before (here and here). His images of Croatian scenery carry a distinctive smoothness in tonality and transitions that suit the subject matter expertly.
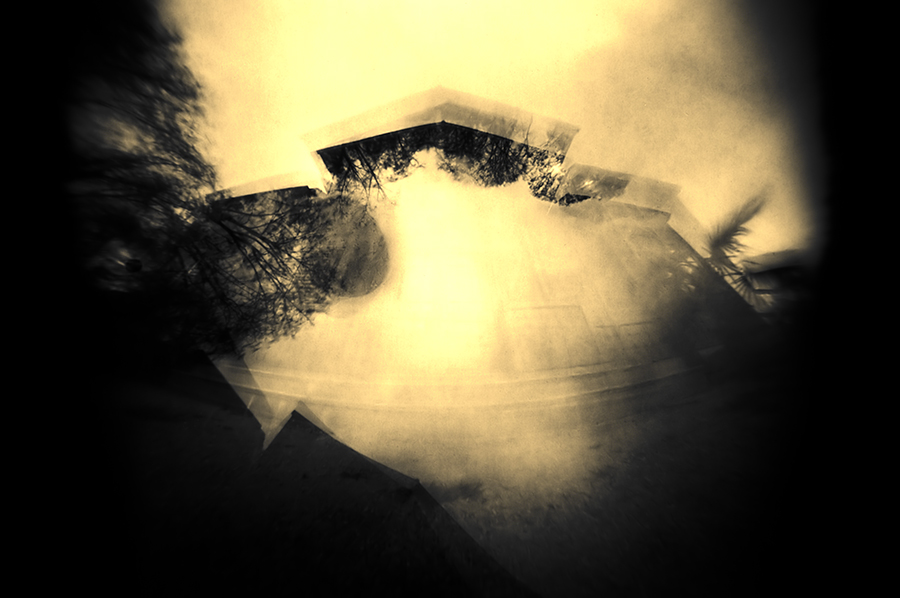
Marko often relies on paper negatives. It’s a medium I’ve personally used a little, and have always been intrigued to learn more about. I was surprised to see a particular aspect of Marko’s process notes: R09 1+100. I thought it was a typo, and then when I saw his Under the Trees, I saw that it was R09 1+200, and I had to pursue this further. R09, the modern incantation of Rodinal, is more often than not a film developer. Moreover, when used for paper, the recommended dilution is usually 1+10 or 1+20.
Over the course of a few emails, I got the chance to quiz Marko about his Rodinal paper development technique further. I’m pleased to present the highlights of that conversation here.
Marko, when I look at your images, and consider that you’re using Rodinal in 1+100 or 1+200, it appears that you get a longer tonal scale than you’d normally get from a paper developer. Is that accurate?
You are right. That’s what Rodinal does in comparison to standard paper developers when used at higher dilution than normal! At 1:200 it works very slowly, doesn’t penetrate deeply inside the paper base and reduces silver mostly on top. This “flat-top” procedure (similar to water bath) evens out the contrast more efficiently since it contracts highlights that are prone to blow out when development starts! (And highlights are something to keep in mind when dealing with paper negatives) Rodinal works as an excellent paper negative developer and allows you to fine tune contrast of your images. Unfortunately, at higher dilution it’s quickly exhausted and that requires extra precaution at development sessions.
Wide tonality of some of my images, beside highly diluted Rodinal, is partially result of fiber based grade 2 paper I’m using (conventionally: normal grade paper). Lower grade gives lower contrast, i.e. better or wider mid-tone values while fiber base due to its higher amount of deposited silver brings to overall picture depth. Same effect can’t be achieved with VC/RC paper!
So, it’s a balance between Rodinal dilution, developing procedure and graded FB paper I’m used to and know very well. Not to mention the importance of exposure that needs to be as exact as possible.
Are you using any agitation in your process? Or is it stand development?
It’s usually a stand development with very little agitation or if any. In the case of Under the Trees – due to high scenery contrast – negative was developed with almost no agitation at all. The thing is, while proceeding with stand development, if I see that developer is exhausted or near exhaustion and works extremely slowly I would agitate it if necessary. This would bring some power to it but results wouldn’t be the same as with stand development done with freshly mixed batch.
Are you pre-flashing your paper negatives first?
When working with pinhole camera and paper (and I do both almost exclusively) I try to keep the whole process as pure as possible. Pre-flashing paper can slightly increase the emulsion speed and consequently help one keep the contrast inside normal/usable scale if exposure is based on shadow values and measured under difficult or harsh lightning. However, for me if the light isn’t just right – soft, subdued and kind of “touchy” with mostly open shades – I’ll try not to do the picture. That makes pre-flashing in my case irrelevant. Also, I try avoiding the use of any sort of filters, be it color or UV.
What ISO do you generally find works best for this configuration?
I usually rate my paper (FB Fomabrom grade 2) at ISO12
Speaking of exhaustion, roughly how many negatives do you find you can develop in a batch of Rodinal 1:100 or 1:200?
In my experience, 1L of developer solution at 1+100 is roughly enough for 3 sheets of 8x10in paper, while at 1+200 one can count for 2 sheets. Keep in mind that we are speaking of double weight FB paper! Considering exhaustion, highly diluted Rodinal in a tray has full working life of roughly 25 minutes at 20°C. So, when developing at higher dilution I try to bring picture to life very slowly, but starve to finish the procedure fast. With practice and confidence this quickly becomes a routine and a method.
For those that aren’t familiar with the Development by Inspection technique (as opposed to time and temperature), can you describe the process? How do you know when to pull the print from the developer?
Basically, developing paper negatives is very similar to developing enlarged prints in a standard darkroom processing. But, unlike standard paper developer and standard procedure that mostly urges for fixed time, developing paper negatives in Rodinal is less restrictive and more open to process variation at the development stage. Higher Rodinal dilution brings even contrast at prolonged development time allowing one to pleasently observe, control and eventually modulate picture tonality under the safelight. Decision like „should I agitate or not“ or „can I stop it now“ are all made under inspection! Also, when working with Rodinal one has to keep in mind Rodinal’s „single-shot nature“ genuinly formulated for film and not for paper! Issues of this old chemical formula comes to life at stand development in a tray that in my configuration often lasts between 8 to 20 minutes. Paper fogging from safelight or developer oxidation are expected difficulties that I need to count on. You would rarely experience this with standard paper development in standard darkroom procedure – be it print or negative.
In Rodinal my paper negatives are usually developed as follow:
Firstly, I push the paper with the emulsion side facing down inside shallow tray filled with developer and with the help of tongs try to keep the paper beneath developer surface until I feel its thoroughly soaked. Then I slowly (!) agitate the tray for a brief moment.
After first minute I flip the paper upside so I can see how the picture is coming out. At 1:100 properly exposed highlights starts to occur after about two minutes. Keeping an eye on highlights when developing really starts and observing the speed they are coming out makes help in evaluating final contrast and gives signals for further agitation if necessary. Developing is finished when shadow details are fully developed. That’s the point when I pull the paper out of developer tray.
Dilution and Rodinal developing time in a reference to desired negative contrast are evaluated on my expectations and sometimes by the notes I write on the exposures and scene/subject light values. Experience in working with paper and darkroom materials I’m familiar with plays great key of roll in my processes. Usually when I standardize the procedure (exposure/paper/developer combination) I can count on timing what makes developing by inspection – at least for the sake of contrast control – not so necessary. Still, I enjoy it very much to watch how picture is slowly drawing itself and this work of magic can be quite thrilling on larger sheets of paper!
More of Marko’s work can be found on his Flickr page.